Screen recording is an important tool on your iPhone that allows you to quickly capture anything happening on your screen. Whether you are recording an intense gaming strategy, documenting an error for tech support, or generating a tutorial for your friend or family member, the built-in feature provided by Apple is the most authentic and easy method.
Forget downloading complex third-party apps; this guide will show you the official and reliable process of enabling and using iPhone screen recording.
How to Screen Record on your iPhone?
It is simple to record the screen on your iPhone. Just follow these easy steps:
- First, customize your control center. Tap Settings, navigate to Control Center, then tap the Green Plus icon next to screen recording.
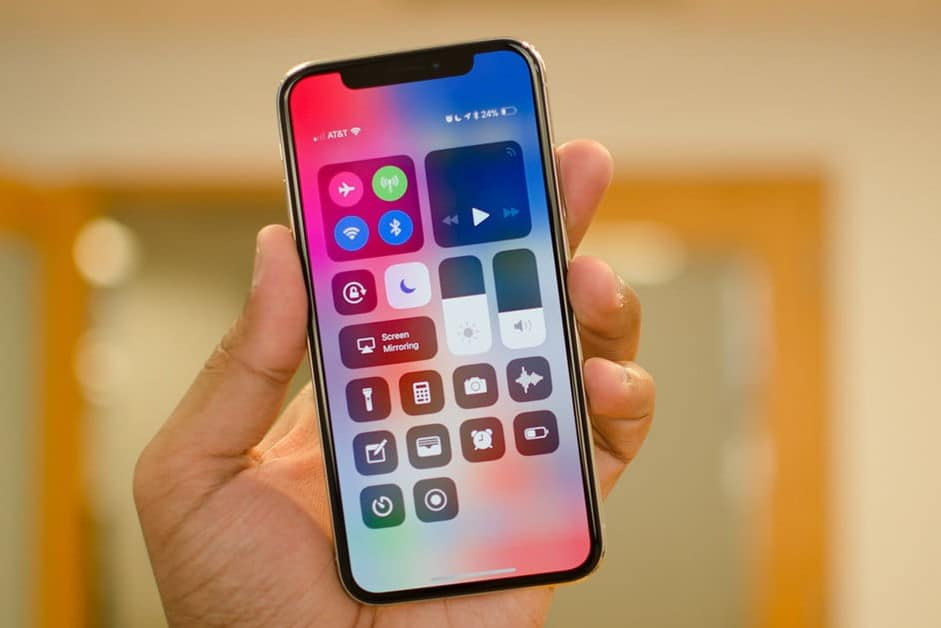
- Swipe down from the top-right corner of your home screen to open your control center, tap the Screen Record icon, and then wait for the three-second timer to begin recording.
- To stop recording, open the control center, tap the red bar at the top of your screen, and tap stop.
How to Save Your Screen Recording?
Before you record, make sure you have enough storage space on your iPhone to save the video. Screen recordings are automatically saved to your iPhone’s photo library in the Photos app. To see all of your screen recordings:
- Open Photos.
- Tap Albums, then tap Screen Recording below media types.
How to Share Your Screen Recording?
You can quickly share any screen recording you have saved. Here’s how:
- Open Photos.
- Tap the Share button ( a rectangle with a vertical arrow), then choose a share option such as Mail, Message, or Airdrop.
3 Pro Tips for Smooth Recording
| Tip | Action | Benefit |
| Silence Interruptions | Enable Do Not Disturb mode before recording. | Prevents pop-up notifications or calls from appearing on the screen. |
| Check Volume | Make sure your media volume is up for system audio. | Ensures clear recording of internal app sounds. |
| Avoid Mirroring | Do not use Screen Mirroring while recording. | Screen recording is disabled when mirroring is active. |
The official iPhone screen recording feature is robust, high-quality, and merged directly into the iOS system, making it the fastest way to share visual instructions.
How to Start Screen Recording on Any iPhone
For iPhones With Face ID (X and newer):
- Swipe down from the top-right corner
- Tap the Record icon
- A 3-second countdown begins
For iPhones With Home Button:
- Swipe up from the bottom
- Tap the Record icon
- Wait for countdown
The red status bar or dynamic island indicator confirms the recording is active.
Supported iPhone Models and iOS Versions
Users often wonder whether their specific iPhone can screen record.
Here’s the complete compatibility list:
✔ Supported iOS Versions
Screen recording is available on iOS 11 and later.
✔ Supported iPhones
Every iPhone released after 2013, including:
- iPhone 5s, 6, 6 Plus
- iPhone 6s, 7, 8
- iPhone SE (all gens)
- iPhone X, XR, XS, XS Max
- iPhone 11, 12, 13, 14, 15, 16 series
If the screen recording toggle is missing, the device is either:
- Running old software (iOS 10 or earlier), or
- Restricted by parental controls / Screen Time settings.
How to Add Screen Recording to Control Center
Before recording, you must place the Screen Recording button in the Control Center. Follow these steps to add screen recording to your control center:
- Open Settings
- Tap Control Center
- Scroll to More Controls
- Tap the + icon next to Screen Recording
- Drag to reorder (optional)
The button now appears when you swipe down from the top-right corner.
How to Stop Screen Recording on iPhone
Stopping a screen recording on your iPhone is simple, and Apple provides two official methods to do so. The first method is via the Control Center. To use this method, swipe down from the top-right corner of your iPhone screen (or swipe up from the bottom on older models), then tap the red blinking screen record icon. Once tapped, the recording stops immediately, and your video is saved.
The second method is using the Status Bar or Dynamic Island. If you see a red bar or the Dynamic Island indicator while recording, simply tap it, then select Stop. The video is automatically saved to your iPhone’s Photos app under Photos → Recents, making it easy to access immediately.
How to Record iPhone Screen With Sound
Recording your iPhone screen with sound can enhance tutorials, commentary, or gameplay videos. iPhone supports two types of audio recordings: external microphone audio and internal app audio.
A. Record With Microphone Audio (External Sound)
Recording with your microphone is perfect for creating tutorials, commentary, or teaching videos. To do this, open the Control Center, then long-press the Screen Record icon. Tap the Microphone button to turn it on — it will turn red, indicating it is active. Finally, tap Start Recording. Your voice, along with any background sounds you want to include, will be captured in the video.
B. Record Internal Audio Only (In-App Sound)
For recording sounds directly from apps such as games, music apps, or system audio, keep the microphone turned off. Start recording normally, and your iPhone will capture the internal app sounds. Note that some apps may restrict audio recording due to copyright or privacy policies.
Where Screen Recordings Are Saved (Storage and iCloud Behavior)
All iPhone screen recordings are saved automatically in the Photos app. You can find them under Photos → Recents or Photos → Albums → Screen Recordings.
If you use iCloud Photos, recordings may take time to upload across devices. They may appear low quality temporarily or may not show up at all if iCloud storage is full. If your recordings are missing, check the Recently Deleted folder, verify iCloud syncing, and ensure you have sufficient device and iCloud storage.
Why Some Apps Show a Black Screen When Recording (DRM Protection)
Some apps, such as Netflix, Amazon Prime, Disney+, Hulu, Apple TV, banking apps, and certain video calls, may display a black screen during recording. This occurs because these apps use Digital Rights Management (DRM) to prevent piracy, protect sensitive data, and prevent unauthorized copying of content. There is no official way to bypass this limitation.
If you try recording apps like:
- Netflix
- Amazon Prime
- Disney+
- Hulu
- Apple TV
- Banking apps
- Some video calls
You will see a black screen or the app will pause, because these apps use DRM (Digital Rights Management) to prevent:
- Privacy violations
- Piracy
- Copying protected material
Frequently Asked Questions
You likely forgot to long-press the icon and turn the microphone ON (red) before starting the recording.
iOS generally stops recording the other person’s audio on a call due to privacy restrictions.
There is no limit, but the duration is restricted by your device’s available storage space.
Check that you added it to the control center and make sure it’s allowed in your screen time restrictions.
Arsalan Rashid
December 1, 2025
3 months ago