Table of Contents
Whether you are looking to enhance your online gaming experience, enable secure remote access to your home network, or improve the performance of certain applications, port forwarding can help.
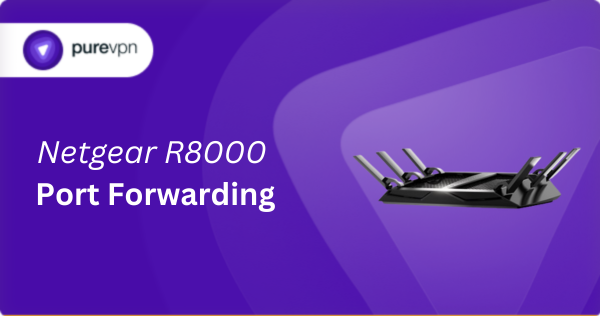
Setting up port forwarding on a Netgear R8000 router might sound a bit technical, but one does not need to be a tech wiz to get it right. Learn more in our step-by-step guide to Netgear R8000 port forwarding.

A Brief Overview of Netgear R8000 Port Forwarding
- Assign a static IP address to the device you are targeting.
- Log into your Netgear R8000 router.
- Open the port forwarding settings.
- Set up the ports you desire.
- Save and restart your router.
How to Enable Port Forwarding on a Netgear R8000 Router
Just follow these steps to set up port forwarding on Netgear R8000 routers:
Step #1: Access the Netgear R8000 Router Interface
Launch your preferred web browser and enter http://www.routerlogin.net or http://192.168.1.1 to reach the router’s login page. These addresses are commonly used for Netgear routers. If neither works, refer to your router’s documentation for the correct IP.
Step #2: Log into the Router’s Admin Panel
Enter the default credentials for your Netgear R8000 router, unless you have e changed them. If you are unsure, your router’s manual or the label on the router itself should have this information. After logging in, you will see the main dashboard where you can access various settings.
Step #3: Assign a Static IP Address
For devices that require constant port forwarding rules like gaming consoles, it is crucial to have a static IP address. Within the admin panel, locate the section for setting up Address Reservation under Advanced Setup or a similar category.
Here, you can associate a specific IP address with the MAC address of your device, ensuring it keeps the same IP even after restarts. Note this IP address for later use.
Step #4: Go to the Port Forwarding Section
Find the Advanced tab, then look for Advanced Setup, and select Port Forwarding/Port Triggering.You need to be in the Port Forwarding section and not Port Triggering, as they serve different purposes.
Step #5: Create a Port Forwarding Rule
- Click Add Custom Service or a similar option to begin setting up a new rule.
- Name your rule descriptively for easy identification (for example, PS5 Gaming or Home Server)
- Input the static IP address you set in Step #3 as the Server IP.
- Enter the necessary port number or range required by your application or device.
- Choose the protocol type (TCP, UDP, or both) as per your application’s needs.
- Leave the external IP address field as default unless specific requirements dictate otherwise.
- Save to apply your changes.
Step #6: Test Your Port Forwarding Setup
To ensure your ports are correctly forwarded, use an online port checking tool. If the ports are not open, review your settings, check the device’s network connection, and adjust any firewalls or security settings that might block the traffic.
Opening Ports Behind CGNAT
Carrier-Grade NAT is used by ISPs to manage the limited availability of IPv4 addresses by assigning a single public IP to multiple customers. This can complicate or hinder direct internet connections like those required for successful port forwarding as it adds an additional layer of NAT that can block incoming requests before they reach your personal network.
As a result, even if you have correctly configured port forwarding on your Netgear R8000, the presence of CGNAT may prevent these settings from functioning as intended. This can affect services that rely on direct access, such as online gaming, operating a server, or remote desktop functionalities.
Learn how to bypass CGNAT with PureVPN.
PureVPN: The Best VPN with Port Forwarding!
PureVPN’s port forwarding add-on is designed for ease of use, allowing you to easily open or close specific ports with just a click. This is particularly handy for users behind CGNAT, eliminating the need for complex configurations or ISP involvement.
The add-on ensures devices and services are reachable from the internet, ideal for situations like online gaming and remote access, regardless of CGNAT restrictions. Try it today and make port forwarding as simple as 1, 2, 3!
Netgear R8000 Port Forwarding Not Working?
Try out these fixes:
- Check IP Address Assignments: Make sure your device has a static IP to maintain consistent port forwarding rules.
- Update Firmware: Keep your Netgear R8000 firmware up to date to prevent compatibility issues.
- Adjust Firewall Settings: Check if the router’s firewall is not blocking the forwarded ports.
- Double-Check Port Numbers: Verify the accuracy of the port numbers in your port forwarding setup.
- Restart Router: Sometimes, rebooting your router can help apply port forwarding changes effectively.
- Disable UPnP: If enabled, UPnP might conflict with your manual port forwarding settings, so disable it.
Frequently Asked Questions
How do I port forward my Netgear R8000?
To port forward on your Netgear R8000, log into the router’s admin panel, find the port forwarding section, and enter the required details like the device’s static IP and the ports you need open. Remember to save your settings and restart the router to apply changes.
Is port forwarding on the Netgear R8000 risky?
Port forwarding on the Netgear R8000 exposes specific ports of your devices to the internet, potentially opening up vulnerabilities. Therefore, only open the ports you need and keep your router’s firmware and your devices’ security software up to date to mitigate risks.


