Table of Contents
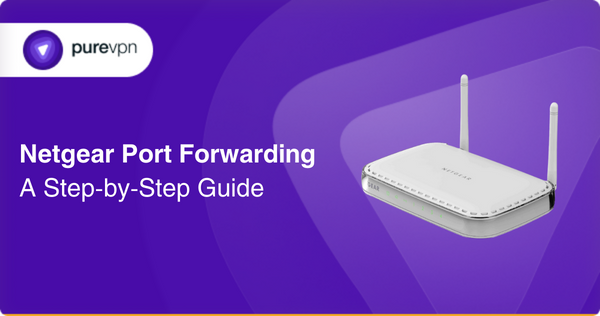
Your Netgear router will automatically block any incoming connection attempts to your private network. This means that you won’t be able to host any servers, or connect with any devices (such as CCTV cameras), outside of your private network. But there is a solution to all these problems, and that is to port forward your Netgear router. If you’re wondering how to do that, then the following guide is here to help you out.

Requirements to port forward Netgear
Before you start port forwarding, make sure you have the following info:
- The IP address of your Netgear router (just enter your router’s model number on the internet to find it)
- The IP address of the device that you want to port forward (will be visible somewhere in the settings panel)
- The TCP and UDP ports that are required by the application
Step-by-step guide on how to port forward Netgear
Once you’ve collected everything you need, you’ll only need to follow the steps mentioned below to port forward your Netgear router:
- Open your web browser and enter your router’s IP address in the address field.
- Tap enter to bring up the login page.
- Now enter your username and password to login.
- After you’ve logged in, navigate to the port forwarding section of the router.
- If you’re not sure where it is, just visit the Advanced tab or the Firewall section and you’ll soon be able to locate it.
- After you’ve located the port forwarding section, click on the option titled “Add Custom Service”.
- This will open a form where you can enter your port forwarding rule.
- Now, in the “Server IP Address” field, enter the IP address of the device that you want to port forward.
- Then enter the TCP and UDP ports of the application in the indicated boxes. These are mentioned below in this guide.
- Now choose from the indicated protocols (TCP, UDP, or both).
- Activate the port forwarding rule by clicking “Apply”.
- Save the changes for them to take effect.
That’s it! When the changes have taken effect, you can start hosting your server or application on the network and provide your friends with the hostname that you’re using as well as the port number, which should look something like this, ‘hostname.domain.com: 25565.’
Ports needed to run
In order to run port forwarding successfully, you will need to allow access to specific ports on your firewall. The default port for Netgear routers is:
TCP Port: 80
PureVPN’s port forwarding add-on
Forwarding ports is definitely a challenging task for newbies especially considering that a single mistake can mess up your router’s firmware settings. You can choose to avoid doing all the manual work by automating the entire port forwarding process using PureVPN’s Port Forwarding add-on.
With this add-on, you don’t just automate the entire port forwarding process, but you also get to avoid persistent issues such as CGNAT when connecting to devices on your network. Moreover, using the port forwarding add-on is a lot safer compared to the conventional means of setting up everything you can.
Wondering what else you can do with PureVPN’s Port Forwarding add-on? P2p file sharing, hosting game servers, avoiding IP blacklisting, we can go on and on and on.
Open ports behind CGNAT
A lot of ISPs (internet service providers) now perform CGNAT (Carrier-grade Network Address Translation) so they can conserve bandwidth and assign a single IP address to more than one user on their network. But CGNAT is bad for port forwarding because it makes it difficult to open ports on your router.
There is a way to get around the CGNAT issue. Yes, you guessed it right. It’s by using PureVPN’s Port Forwarding add-on. Here’s how you can make it work:
- Login to the PureVPN member area.
- Open subscription tab.
- Click Configure.
- Apply your desired port settings.
- Click Apply settings.
Frequently asked questions
This is easy. Just type in your router’s IP add address into your web browser and navigate to the Advanced or Firewall section. Finally, click on the “Add Custom Service” button.
This depends on the server or application that you wish to use because each application uses separate ports to connect to the network. You can check the documentation of the server or application, or search on google to learn about which ports to open.
To summarize
Port forwarding is an exceptionally useful feature if you know how to use it. Through port forwarding, you can connect to devices and servers on your private networks even when you’re outside somewhere and not connected to it.
The guide shown above does its best to teach you how to port forward your Netgear router. And to automate the whole process in a more secure manner, you should consider using PureVPN’s Port Forwarding add-on.


